
In this comprehensive guide, we’ll walk you through the steps to install a deer fence efficiently.
Planning and Preparation:
Before diving into the installation process, it’s essential to plan meticulously. Start by determining the perimeter you want to enclose with the deer fence. Take measurements accurately to ensure you purchase the correct amount of fencing material.
Consider the height of the deer fence; deer can jump quite high, so a fence of at least 7 to 8 feet is recommended to deter them effectively. Additionally, evaluate the terrain and any obstacles that might affect the installation process.
Gather the Necessary Materials:
Once you’ve outlined the perimeter and assessed the requirements, gather all the materials you’ll need for the installation. This typically includes:
Deer fencing material (polypropylene or metal)
Fence posts (wooden or metal)
Post hole digger or auger
Tension wire
Zip ties or wire clips
Gate hardware (if installing a gate)
Tools (drill, hammer, wrench, etc.)
Ensure that you have enough materials to cover the entire perimeter of your property.
Installation Process:
Marking the Fence Line: Begin by marking the perimeter of the fence using stakes or flags. This will serve as a guide during installation, ensuring a straight and consistent fence line.
Digging Holes for Fence Posts: Using a post hole digger or auger, dig holes for the fence posts along the marked fence line. The spacing between posts will depend on the type of fencing material used and the terrain. Typically, posts should be spaced 10 to 12 feet apart.
Installing Fence Posts: Place the fence posts into the holes and secure them firmly into the ground using concrete or gravel. Ensure that the posts are level and evenly spaced along the fence line.
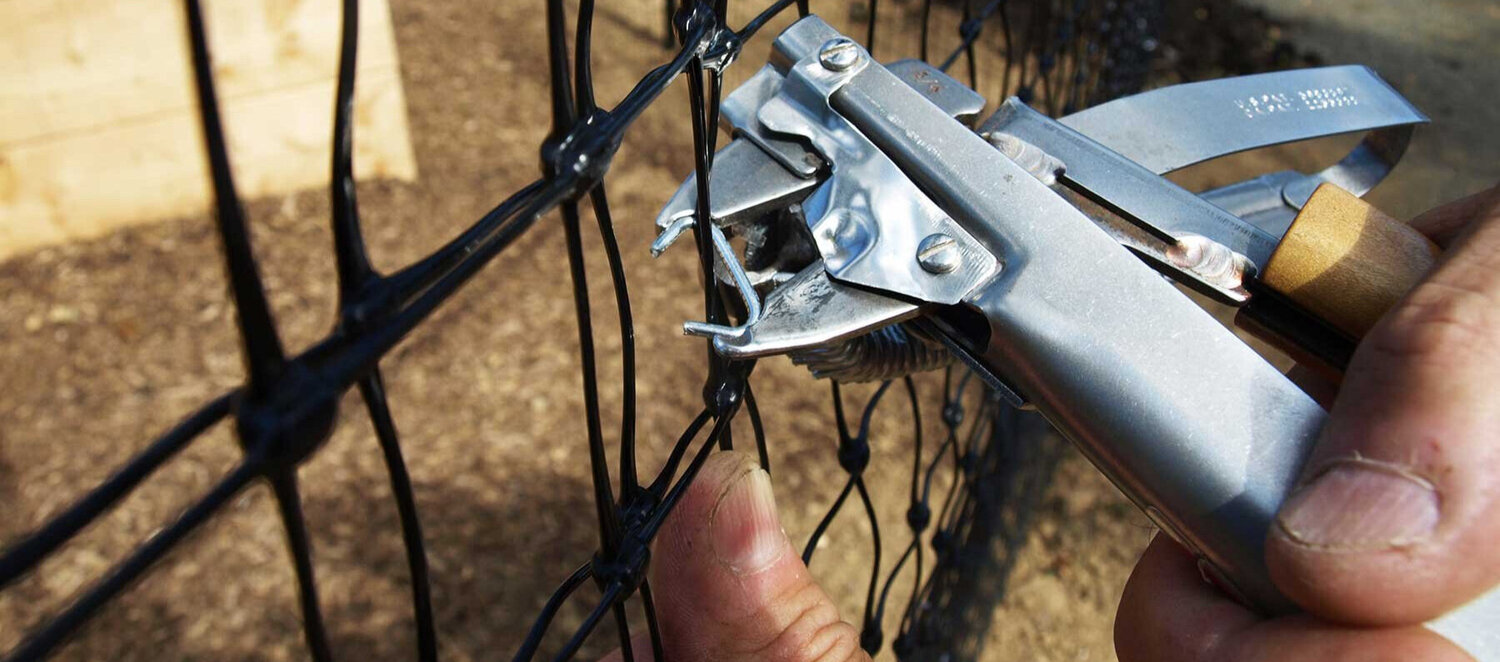
Attaching the Deer Fence: Unroll the deer fencing material along the fence line, starting from one corner or end post. Secure the fencing to each post using zip ties or wire clips, ensuring it is taut and securely attached.
Adding Tension Wire: To provide additional support and prevent sagging, run a tension wire along the top and bottom of the fence. Use a wire tensioner to tighten the wire, ensuring the fence remains sturdy.
Installing Gates (if applicable): If you plan to install gates within the deer fence, follow the manufacturer’s instructions for assembly and installation. Make sure the gates are securely attached to the fence posts and can be opened and closed easily.
Finishing Touches:
Once the deer fence is installed, take some time to inspect the entire perimeter for any gaps or weak spots. Reinforce any areas that may be susceptible to deer intrusion, such as low-hanging branches or gaps under gates.
Consider adding deterrents such as motion-activated sprinklers or noise-emitting devices to further deter deer from approaching the fence.
Maintenance:
Regular maintenance is key to ensuring the longevity and effectiveness of your deer fence. Periodically inspect the fence for any damage or wear and tear, and make repairs as needed. Trim vegetation around the fence line to prevent it from obstructing the fence or providing a foothold for deer to jump over.
By following these steps and investing time and effort into the installation process, you can enjoy a deer-free garden and landscape, allowing your plants to thrive without the threat of wildlife intrusion.